Why sign shops need one estimating method
Most sign shops have more than one person who quotes. One uses a spreadsheet, one uses a price per square foot, and the owner uses gut feel. The same job can get three prices. Some win and lose money. Some lose to a lower bid that should have been yours.
A shared method fixes that. Every estimate covers the same cost groups in the same order. Nothing gets left out, like the lift rental or the permit filing time. The margin you see on the quote is the margin you get on the job.
- Same steps for every sign type, from banners to pylons.
- Same rates for every estimator.
- Same checklist before every quote goes out.
The example job used in this guide
We will price one job from start to finish. It is an example, not a market price.
- A single-faced LED cabinet sign, 4 feet tall by 12 feet wide, 8 inches deep.
- Printed polycarbonate face, aluminum back, painted extrusion cabinet.
- Wall mounted, bottom of the cabinet at 14 feet above grade.
- 40 miles from the shop, new electrical circuit needed, city permit required.
Keep a job like this in mind as you read. The steps are the same for a monument, a set of ACM panels or a vehicle wrap. Only the lines inside each step change.
Step 1, scope the job and survey the site
A good estimate starts with a clear scope. Write down what you are making, how big, what materials, how it is lit and where it goes. If anything is missing, ask before you price.
Then decide if you need a site survey. For anything mounted above a ladder's reach, on an unknown wall, or near power lines, the answer is yes. A survey tells you the wall type, the height, the access for a lift, where power is, and if the city needs anything special.
- Wall type and what fasteners it needs.
- Mounting height and lift access.
- Distance to power and who runs it.
- Parking, sidewalk and traffic control.
- Photos and measurements for the drawing.
In this example the survey takes 1.5 hours including drive time, at $75 per hour. That is $113, and it goes on the quote as its own line.
Step 2, price materials with a waste factor
List every material by its unit: sheets, linear feet, square feet, each. Use your current cost, not last year's. Then add a waste factor for each material. Waste covers miters, test cuts, print setup and the odd mistake.
In this example, materials come to:
| Material | Example cost |
|---|---|
| Cabinet extrusion, 32 linear feet at $9 | $288 |
| Retainers, 32 linear feet at $3 | $96 |
| Polycarbonate face sheet | $320 |
| Aluminum back, 2 sheets of 4x8 at $110 | $220 |
| LED modules, 216 at $2 | $432 |
| Power supplies, 3 x 60 W at $55 | $165 |
| Print ink and media, 48 square feet at $4 | $192 |
| Wire, disconnect, hardware | $120 |
| Paint | $90 |
| Materials total | $1,923 |
LED and power supply math follows the same rule as channel letters. Count modules by layout, add up watts, and load each supply to 80 percent. Here 216 modules at 0.5 W draw 108 W. A 60 W supply carries 48 W at 80 percent, so you need 3. For a letter-by-letter walk through, see how to price channel letters.
Step 3, nest parts on real sheet sizes
You buy whole sheets, so price whole sheets. Nesting means laying parts out on 4x8 or 5x10 sheets to see how many you need and how much is left over.
The back in this example is 4 by 12 feet. It does not fit one 4x8 sheet. Two 4x8 sheets give you the back with a 4x4 offcut. One 5x10 sheet is too short. So the estimate uses two 4x8 sheets, and the offcut goes back to stock.
- Nest every sheet part, faces, backs and panels.
- Compare 4x8 and 5x10 when parts are large.
- Price the offcut as waste unless you know you will use it.
Nesting by hand takes time. A tool that nests on both sheet sizes and picks the cheaper layout saves that time on every job.
Step 4, add machine time at machine rates
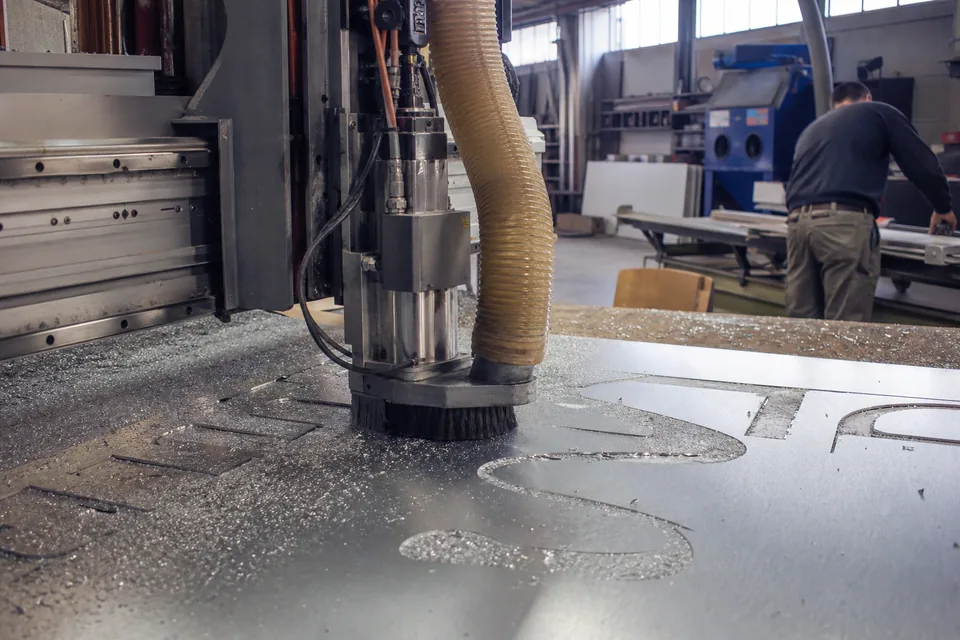
Machines cost money to run even when the operator is paid separately. Set a rate per hour for each one: router, laser, wide format printer, bender, saw. The rate covers the machine payment, tooling, ink or bits, power and maintenance.
In this example:
- Router, cutting the back and face, 1 hour at $85, $85.
- Wide format printer, printing the face, 1.5 hours at $60, $90.
Machine total, $175. For print-heavy jobs, our guide to print estimating software shows how to price ink, media and printer hours in more detail.
Step 5, add shop labor by task
Price labor by task, not as one block. Tasks are easier to estimate and easier to check after the job.
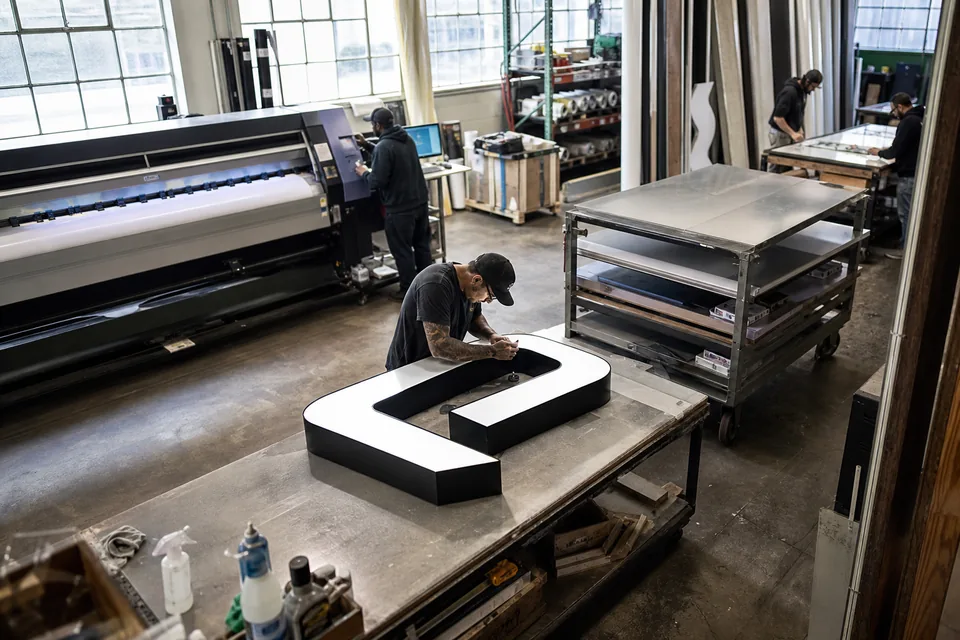
- Cabinet fabrication, 6 hours.
- LED layout and wiring, 3 hours.
- Paint, 2 hours.
- Face install and quality check, 1 hour.
That is 12 hours. At a labor rate of $55 per hour in this example, shop labor is $660. Your labor rate should include wages plus payroll taxes and benefits. Overhead comes later, as its own step.
Step 6, price install, equipment and travel
Install is where estimates go wrong most often. Price it from the survey.
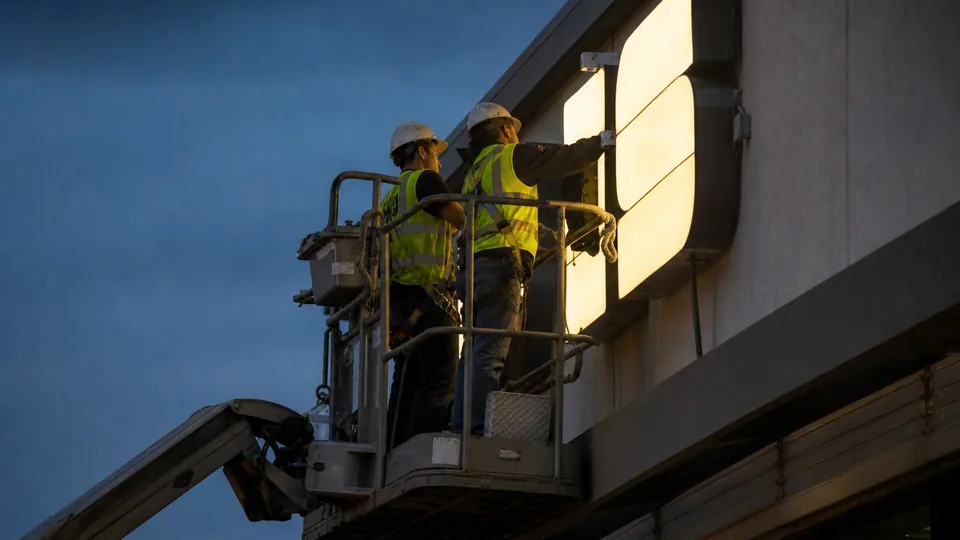
- Install crew of 2 for 5 hours on site, 10 hours at $75 per hour, $750.
- Boom lift in a class that reaches about 18 feet with room to work, one day at $400 plus $150 delivery, $550.
- Travel, 40 miles each way, 3 crew hours of drive time ($225) plus 80 miles at 70 cents a mile ($56), $281.
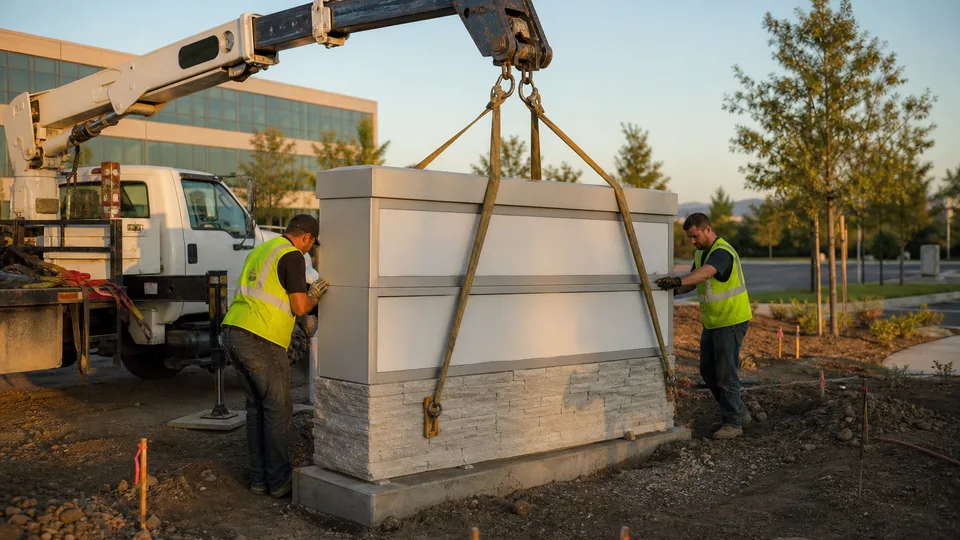
If the lift cannot reach, price a crane with its mobilization fee. If the job is over a sidewalk, add traffic control time. Our guide on how to quote sign installation covers lift classes, crane jobs and multi-day installs.
Step 7, add subcontractors and permits
Put each subcontractor on its own line. That way you can mark them up on purpose and compare the quote to the bill after the job.
In this example a licensed electrician runs a new circuit for $500. The city sign permit is $200, plus 2 hours of office time at $55 to draw and file, so the permit line is $310.
Common subcontractor lines in sign work are electrical, concrete footings for monuments and pylons, engineering stamps, crane service and traffic control.
Add up the direct cost
Before overhead, total all job costs.
| Group | Example cost |
|---|---|
| Survey | $113 |
| Materials | $1,923 |
| Machine time | $175 |
| Shop labor | $660 |
| Install crew | $750 |
| Boom lift | $550 |
| Travel | $281 |
| Electrical subcontractor | $500 |
| Permit | $310 |
| Direct cost | $5,262 |
Step 8, calculate and apply your overhead rate
Overhead is every cost that keeps the shop open but is not tied to one job. Rent, utilities, insurance, office staff, vehicles, software, accounting and the owner's salary if they do not bill hours.
Here is a simple way to get an overhead rate per hour, with example numbers.
- Add up a year of overhead. In this example, $420,000.
- Count billable hours. In this example, 8 production and install staff work 2,080 hours each, and 75 percent of those hours are billable. That is 12,480 billable hours.
- Divide overhead by billable hours. $420,000 divided by 12,480 is about $33.65 per hour.
Then apply that rate to every hour on the job. This job uses 1.5 survey hours, 2.5 machine hours, 12 shop hours, 10 install hours and 3 travel hours. That is 29 hours. At $33.65, overhead is about $976.
Full cost is $5,262 plus $976, or $6,238. Recalculate your overhead rate at least once a year, and any time rent, staff or volume change a lot.
Step 9, set the sale price from a target margin
Now set the price. Use margin, not markup.
- Margin is profit divided by price.
- Markup is profit divided by cost.
To hit a target margin, divide the full cost by one minus the margin. With a 35 percent target, the price is $6,238 divided by 0.65, which is $9,597. Round to $9,600 for the quote. The gross profit is $3,362, a real margin of 35 percent.
If you had added a 35 percent markup instead, the price would be $8,421, and the margin would be only 25.9 percent. On a year of jobs, that gap is large. Our guide on markup vs margin for sign shops has a full table.
Some shops use different margins by work type. For example, a higher margin on design and install, a lower one on pass-through items like a crane. That is fine, as long as you see the blended margin before you send.
Step 10, review the estimate before it goes out
Never send an estimate without a second look. Use the same checklist every time.
- Scope matches the drawing, size, count and materials.
- Survey facts are on the estimate, height, wall, power and access.
- Every material has a waste factor and current cost.
- Sheet parts are nested on real sheet sizes.
- LED count and power supplies follow the 80 percent rule.
- Machine time and labor are priced by task.
- Install crew, lift or crane class, and travel match the survey.
- Subcontractors and permits are on their own lines.
- Overhead is applied to every hour.
- Margin, not markup, is at or above target.
- Price per square foot or per letter looks sane next to similar past jobs.
- Terms, deposit and expiry date are on the quote.
Present the quote so it gets approved
A correct price is half the job. The customer still has to say yes. Send a clean, branded quote with a clear scope, the price, and what is not included. Offer good, better and best options where it makes sense, such as a non-lit, front lit and halo version.
Make approval easy. A quote link with online approval and a signature by name gets a faster answer than a PDF the customer has to print and scan.
Running this method in minutes
This method has ten steps and dozens of lines. Done by hand, it takes an hour or more per job. Sign estimating software runs the same steps in minutes and keeps your rates in one place.
SignEstimator has templates for cabinets and lightboxes, channel letters, monuments, pylons, ACM panels, banners, window graphics, wraps and wayfinding. It prices materials with waste, nests sheets on 4x8 and 5x10, counts LEDs and power supplies, adds machine time, labor, install crew, lift or crane class by height, travel, permits and subcontractors. It applies your overhead rate and target margin and shows the real margin before you send.
You can also start from a photo, drawing, PDF or email. The AI draft fills in the spec. Pricing always uses your own materials and rates, and you review every line. Try a quick number first with our sign pricing calculator.